Back exercises for beginners: where to start and what comes next

Start with the lat pulldown and the seated row machine: the pads and handles guide the movement, so you can pull hard while you are still learning. Do two or three back exercises per session, two sessions a week, and stop each set with about 2 reps left. After six to eight weeks, add the assisted pull-up, cable row and supported dumbbell row. At home, the one-arm dumbbell row, the inverted row and the superman are where to begin.

  1. Lat Pulldown Lats
  2. Machine Row Upper Back, Lats
  3. Assisted Pull-Up Lats
  4. Seated Cable Row Upper Back, Lats
  5. One-Arm Dumbbell Row Lats, Upper Back
  6. Inverted Row Upper Back, Lats
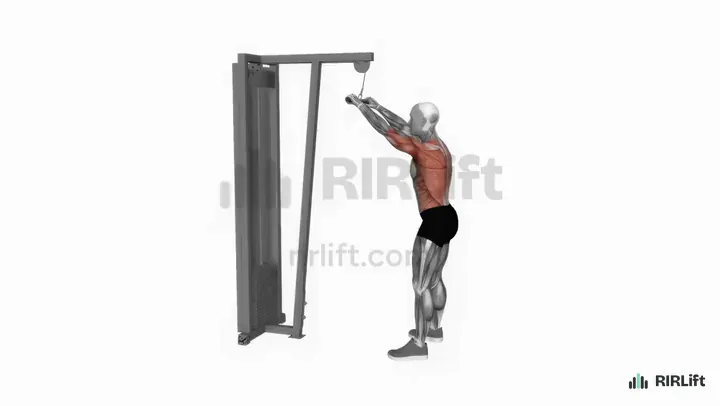
  7. Straight-Arm Pulldown Lats
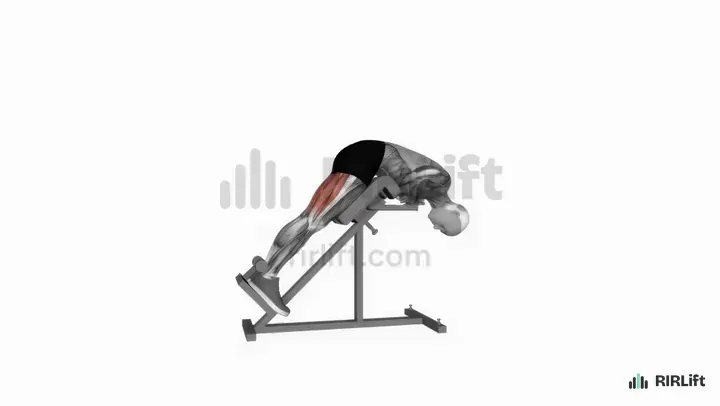
  8. 45-Degree Back Extension Glutes, Hamstrings
Start with these machine back exercises

Machines pick the path for you, so on day one all you have to learn is how hard to pull. Use a pulldown for your lats and a seated row for the middle of your back, and you already have a complete back workout. The assisted pull-up joins once the pulldown feels smooth and steady from rep to rep.

Lats, machine vertical pull

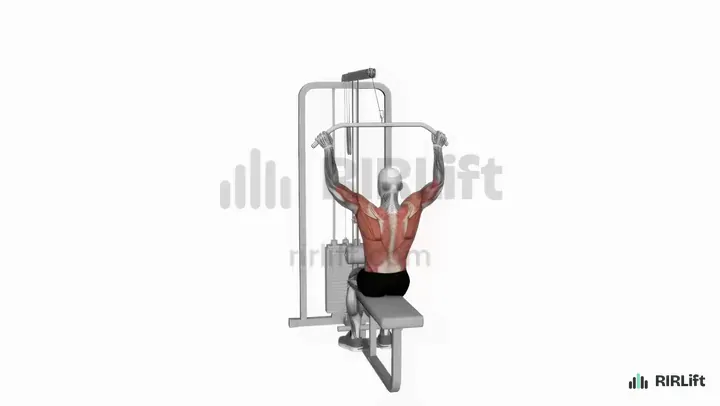
Lat Pulldown

Lats

The pulldown is the beginner's pull-up: you pick the weight on a stack, so you can train the same motion as a pull-up long before you can lift your own body. The thigh pads hold you in place, which leaves you free to learn how a lat contraction feels.

How to do it

  1. Set the knee pads so your thighs are locked under them with your feet flat, then stand up and take the long bar, palms facing away, a little wider than your shoulders.
  2. Sit down with your arms straight overhead and lean back only slightly, chest up.
  3. Bring the bar down to the top of your chest by driving your elbows toward your back pockets.
  4. Let the bar rise until your arms are straight and you feel your shoulders lift, then start the next rep.

Cues

  • Elbows down to your sides
  • Chest up to meet the bar
  • Full stretch at the top

Common mistakes

  • Leaning far back and rowing the bar to your stomach: stay almost upright and let the elbows travel down, not back.
  • Picking a weight you can only move with a body swing: choose one you can lower in two seconds.

Swap for: Assisted Pull-Up, Neutral-Grip Lat Pulldown, Band-Assisted Pull-Up

Mid-back and lats, machine horizontal pull

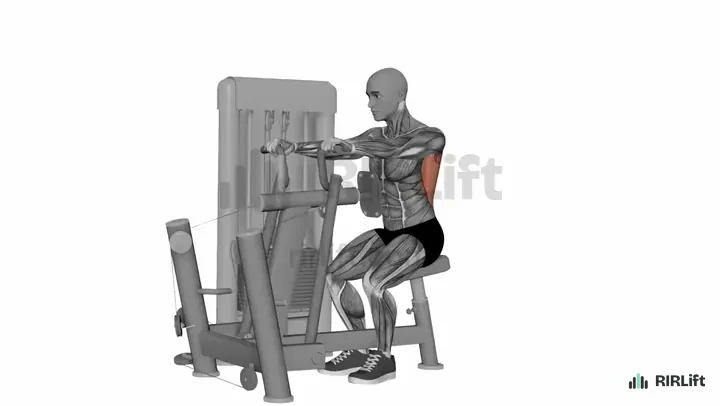
Machine Row

Upper Back, Lats

The seated row machine has a chest pad and fixed handles, so you cannot round your back, swing, or lose balance. It is the safest place to learn what pinching your shoulder blades feels like, and you can push sets close to failure from the first week.

How to do it

  1. Set the seat so the handles line up with the middle of your chest, and sit with your chest against the pad.
  2. Reach forward and take the handles with your arms straight.
  3. Pull the handles back until your elbows pass your torso, then pinch your shoulder blades for a second.
  4. Let the handles travel forward until your arms are straight and your shoulder blades spread apart.

Cues

  • Chest stays on the pad
  • Squeeze, then release
  • Reach forward between reps

Common mistakes

  • Leaning back off the pad to finish reps: the pad is there to keep you still, so lighten the stack.
  • Pulling with your hands and wrists curled: keep the wrists straight and think about your elbows.

Swap for: Seated Cable Row, Chest-Supported Row, One-Arm Dumbbell Row

Lats and upper back, assisted vertical pull

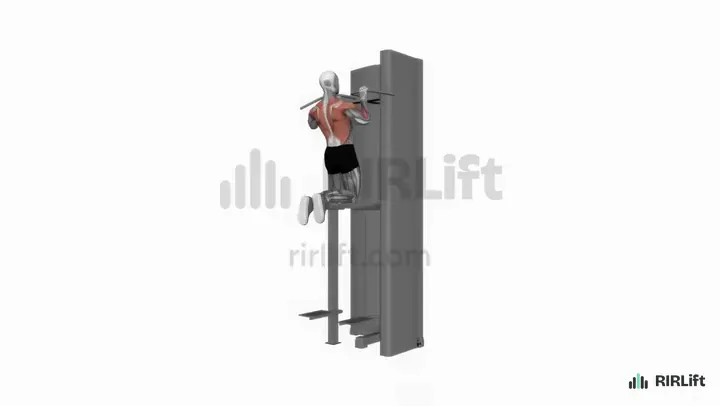
Assisted Pull-Up

Lats

The assisted machine takes a chosen amount of your bodyweight off, so you practice the real pull-up path from a dead hang to chin over the bar. Each few weeks you lower the assistance, and the number on the stack tells you how close you are to an unassisted rep.

How to do it

  1. Pick the counterweight: on this machine a higher number means more help, so start high.
  2. Kneel on the pad and take the handles just outside shoulder width, palms facing away, arms straight.
  3. Pull your chest toward the handles until your chin passes them, keeping your legs still.
  4. Lower yourself all the way down until your arms are straight before the next rep.

Cues

  • More weight on the stack means easier
  • Chest to the handles
  • Straight arms at the bottom

Common mistakes

  • Using so much assistance that the pad throws you up: if the set feels easy at 12, take some help away.
  • Stopping halfway down to keep tension: a pull-up starts from straight arms, so practice that now.

Swap for: Lat Pulldown, Band-Assisted Pull-Up, Neutral-Grip Pull-Up

Lats, close-grip pulldown

Neutral-Grip Lat Pulldown

Lats

A closer grip lets your elbows travel straight down in front of you, a position most beginners find easier on the shoulders than the wide bar. It also lets you lift a little more, so it is a good second pulldown once the standard one feels familiar.

How to do it

  1. Lock your thighs under the pads and hold the attachment with your hands inside shoulder width.
  2. Start with arms fully straight and your torso tipped back a few degrees.
  3. Pull the handle down to your upper chest, elbows pointing at the floor.
  4. Return it under control until the arms are straight again.

Cues

  • Elbows point at the floor
  • Pull to the collarbone
  • Two seconds up

Common mistakes

  • Shrugging your shoulders up at the bottom of the pull: push them down before the elbows bend.
  • Cutting the top of the rep short: let the weight lift your arms all the way.

Swap for: Lat Pulldown, V-Bar Lat Pulldown, Single-Arm Lat Pulldown

Your next step: cable and dumbbell rows

After a few weeks on machines, add rows that make you hold your own posture. The cable row and the supported dumbbell row are the gentlest of them, because you either sit or lean on a bench. The inverted row is the bodyweight option, and you can make it as easy as you need by bending your knees.

Lats and mid-back, cable horizontal pull

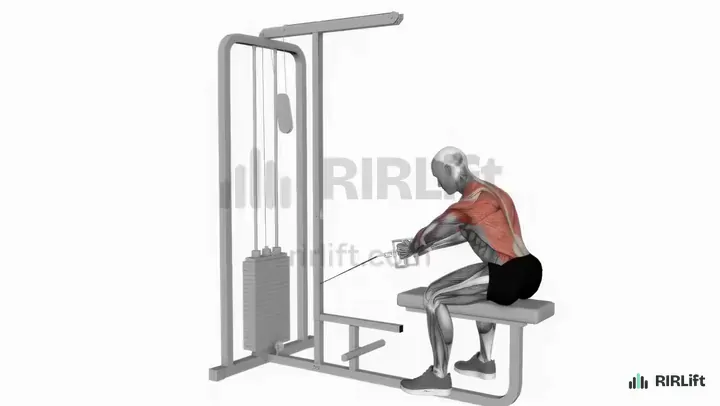
Seated Cable Row

Upper Back, Lats

The cable row gives you a longer stretch than the machine, because you reach forward with nothing in front of your chest. It asks you to hold your own posture, so it is the natural next step once the machine row feels easy to control.

How to do it

  1. Sit on the bench with your feet on the platform and knees slightly bent, holding the close handle with arms straight.
  2. Sit tall so your torso is upright and your lower back is flat.
  3. Row the handle into your stomach, elbows brushing your sides, and draw your shoulders back as you finish.
  4. Let your arms extend forward and your shoulder blades slide forward, without folding at the hips.

Cues

  • Sit tall the whole set
  • Handle to your belly button
  • Shoulders back, not up

Common mistakes

  • Rocking your torso back and forth to move the weight: your torso stays upright and only the arms and shoulder blades move.
  • Rounding forward at the stretch: reach with the arms, not the lower back.

Swap for: Machine Row, Neutral-Grip Row, Single-Arm Cable Row

Lats, supported dumbbell row

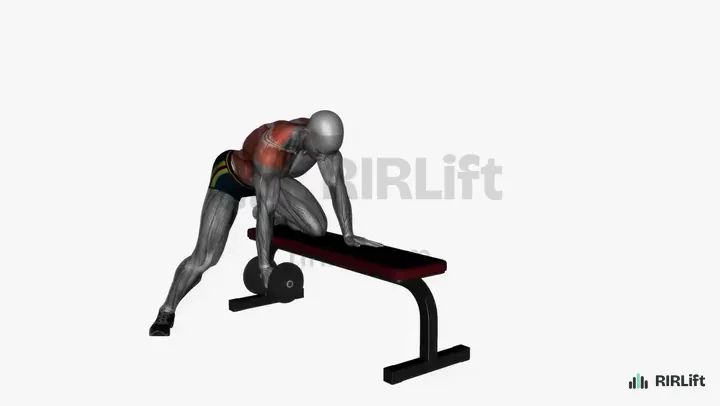
One-Arm Dumbbell Row

Lats, Upper Back

If you train at home or the machines are taken, this is the row to learn. Bracing a hand and knee on a bench means your lower back has nothing to do, and working one side at a time lets you feel the lat on that side pull.

How to do it

  1. Kneel with one knee and the same hand on a flat bench, the other foot planted on the floor, back flat.
  2. Let a dumbbell hang from your free hand with the arm hanging straight down.
  3. Pull the dumbbell toward your hip until your elbow passes your torso.
  4. Lower it to a straight arm, finish all reps, then switch sides.

Cues

  • Pull toward the hip
  • Shoulders level
  • Straight arm every rep

Common mistakes

  • Turning your chest toward the ceiling to lift more: keep the shoulders square and drop the weight.
  • Jerking the dumbbell up from the bottom: start each rep slowly from a dead hang.

Swap for: Dumbbell Lawnmower Row, Kettlebell Row, Incline Dumbbell Row

Upper back and lats, bodyweight row

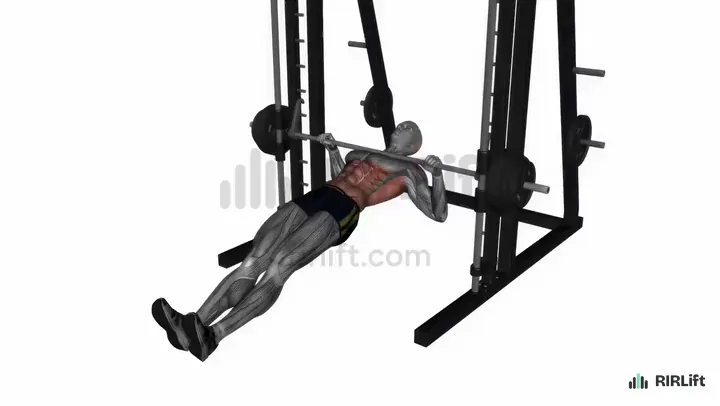
Inverted Row

Upper Back, Lats

Lying under a fixed bar and pulling your chest to it is the easiest bodyweight pull there is, and you scale it by moving your feet: walk them back to make it easier, forward to make it harder. Most gyms set it up on a Smith machine bar, and at home a sturdy table edge or rings work too.

How to do it

  1. Set a bar at about hip height, lie under it, and grip it with your hands a little wider than your shoulders.
  2. Straighten your body from heels to head, or bend your knees with feet flat for an easier version.
  3. Pull your chest up to the bar, leading with your elbows, and keep your hips in line.
  4. Lower until your arms are straight, then pull again.

Cues

  • Body stays a straight plank
  • Chest touches the bar
  • Bend your knees to make it easier

Common mistakes

  • Letting your hips sag so only your chest rises: squeeze your glutes and move as one piece.
  • Pulling the bar to your neck: aim for the bottom of your chest.

Swap for: TRX Row, Machine Row, Band Bent-Over Row

Exercises that teach you to feel your back working

The most common beginner complaint is feeling rows in the arms and nothing in the back. The straight-arm pulldown fixes that for the lats, and the reverse pec deck and face pull do it for the upper back. Do one of them first in a session as a light primer, or last as a finisher.

Lats, isolation

Straight-Arm Pulldown

Lats

Rows and pulldowns let your biceps help, and many beginners feel those in their arms first. With the arms kept straight, only the lats can move the bar, which teaches you where to feel every other back exercise.

How to do it

  1. Attach a straight bar or rope to a high cable and stand a step back, hands on the bar about shoulder width apart.
  2. Hinge forward a little with soft knees and your arms straight out at head height.
  3. Sweep the bar down in an arc until it reaches your thighs, keeping the elbows fixed.
  4. Let it rise back to head height under control.

Cues

  • Arms stay long
  • Bar to your thighs
  • Feel it under your armpits

Common mistakes

  • Bending the elbows and pushing the bar down like a triceps pushdown: lock the elbow angle and use less weight.
  • Hunching over the bar to finish: keep your torso still and stop at your thighs.

Swap for: Dumbbell Lat Pullover, Lat Pulldown, Kettlebell Pullover

Rear delts and upper back, machine fly

Reverse Pec Deck

Shoulders

The rear delts and the muscles between your shoulder blades shape the upper back seen from behind, and the reverse pec deck trains them with no balance or technique to learn. Sit facing the pad, open your arms, done.

How to do it

  1. Turn the handles to the rear position, set the seat so they sit at shoulder height, and sit facing the pad.
  2. Grip the handles with straight arms and palms facing down or in.
  3. Open your arms out and back in a wide arc until your hands are in line with your body.
  4. Bring the handles back in front of you slowly, stopping before the stack touches down.

Cues

  • Arms wide, not back
  • Chest on the pad
  • Slow on the way in

Common mistakes

  • Bending the elbows into a row: keep the arms nearly straight so the rear delts do the work.
  • Letting the stack crash between reps: keep the tension on through the whole set.

Swap for: Face Pull, Dumbbell Rear Delt Fly, Band Pull-Apart

Rear delts and upper back, cable pull

Face Pull

Shoulders, Upper Back

A rope pulled toward your forehead trains the rear delts and the small muscles that rotate the shoulder outward. For someone who sits a lot, it is a light exercise that balances out the pressing done for chest.

How to do it

  1. Set a rope on a cable at about face height and hold one end in each hand, thumbs toward you.
  2. Step back until the arms are straight and the weight is off the stack.
  3. Pull the rope toward your forehead, splitting the ends apart so your hands finish beside your ears.
  4. Return slowly to straight arms.

Cues

  • Hands finish by your ears
  • Elbows high
  • Light weight, smooth reps

Common mistakes

  • Pulling the rope to your chest with low elbows: keep the elbows at shoulder height so it stays a face pull.
  • Leaning back to move a heavy stack: this is a 15 to 20 rep exercise.

Swap for: Band Face Pull, Reverse Pec Deck, Dumbbell Face Pull

Build a session with Face Pull

Lower back exercises for beginners

Your spinal erectors already work to hold your posture in every row, so one direct exercise is plenty. Use the 45-degree back extension at the gym and the superman at home, for 2 sets near the end of the session.

Lower back, glutes and hamstrings

45-Degree Back Extension

Glutes, Hamstrings
The 45-degree bench lets you train the muscles along your spine through a full range with only your upper body as the load. Folding your arms over your chest keeps it light enough for week one, and holding a plate later makes it harder.

How to do it

  1. Set the pad so it sits just below your hip bones, then hook your heels under the foot rollers.
  2. Fold your arms over your chest and stand straight in line with the bench.
  3. Bend forward at the hips until you feel a stretch in your hamstrings.
  4. Lift your torso back to a straight line with your legs, squeezing your glutes, and stop there.

Cues

  • Hinge at the hips
  • Stop at a straight line
  • Squeeze your glutes at the top

Common mistakes

  • Arching back past a straight line at the top: the rep ends when your body is straight.
  • Setting the pad too high so it blocks your hips: you should be able to fold freely over it.

Swap for: Back Extension, Superman, Weighted Back Extension

Lower back, floor hold

Superman

Lower Back

If you have no equipment at all, raising your arms and legs a few inches works the muscles along your spine with nothing but a mat. It is the lower-back move in the home plan, where there is no back extension bench.

How to do it

  1. Lie face down with your arms stretched past your head and your legs straight.
  2. Raise both arms, your chest and both legs together, just a few inches.
  3. Hold for two seconds with your neck long and your eyes on the floor.
  4. Lower everything back down and rest a breath before the next rep.

Cues

  • Long, not high
  • Two-second hold
  • Look at the floor

Common mistakes

  • Throwing your head back to lift higher: keep your neck in line and let the height be small.
  • Rushing the reps: the hold at the top is the exercise.

Swap for: Back Extension, 45-Degree Back Extension, Band Good Morning

Build a session with Superman

Put them together: example sessions

Each session below picks from the exercises above for one situation, with the sets, reps, rest and RIR filled in. Open one in the session builder to change a pick, price it from a recent set, and add it to RIRLift.

Session 1

First month at the gym, machines only

Open in the session builder
  • Workouts2× a week
  • Working sets18 a week
  • Per workout~20 min
  • EquipmentLat Pulldown, Seated Row Machine, Fly Machine, Assisted Machine +1

You are new to the gym and want a back session you can do without anyone showing you how.

Every exercise in these two sessions guides the path for you, so the only skill you practice is effort. Each session has just three or four exercises and 8 to 10 working sets, enough to grow a new back without leaving you so sore you skip the next workout. Sets stop 2 to 3 reps short of failure for the first two weeks while you learn what a hard set feels like, then 2 for the rest of the month.

Back A
ExerciseSets × repsRIRRest
Lat Pulldown1 warm-up set firstWide bar. Pull to the top of the chest. 3 × 10–12 2 90 s
Machine Row1 warm-up set firstChest on the pad. Squeeze 1 s. 3 × 10–12 2 90 s
Reverse Pec DeckArms wide. Slow on the way in. 2 × 12–15 2 1 min

Open Back A in the session builder

Back B
ExerciseSets × repsRIRRest
Assisted Pull-Up1 warm-up set firstStart with plenty of assistance. 3 × 8–12 2 90 s
Neutral-Grip Lat PulldownElbows to the floor. 2 × 10–12 2 90 s
Machine RowPause 1 s with elbows back. 3 × 10–12 2 90 s
45-Degree Back ExtensionArms folded. Stop at a straight line. 2 × 10–15 3 1 min

Open Back B in the session builder

How to run it
Do Back A and Back B on different days, twice each across two weeks, or attach one of them to the end of a full-body day. Start every exercise with one light warm-up set to find the right seat height and weight.
How to progress
Add one rep per set each session. When every set reaches the top of the range with 2 reps in reserve, move the pin one plate down the stack and start back at the bottom of the range.

Session 2

At home with a pair of dumbbells and a bench or chair

Open in the session builder
  • Workouts2× a week
  • Working sets18 a week
  • Per workout~20 min
  • EquipmentDumbbells, Barbells

You are starting at home with one pair of dumbbells, something sturdy to lean on, and no pull-up bar.

With no machines, the supported one-arm row does the heavy lifting because the bench or chair takes your lower back out of it. A table or rings turn the inverted row into your second pull, and the superman covers the lower back. One short session of 9 sets, done twice a week, keeps the learning curve small. A light pair has to be pushed harder to work, so rows stop 1 to 2 reps short of failure and reps run up to 15.

Home Back
ExerciseSets × repsRIRRest
One-Arm Dumbbell RowPer arm. Hand and knee on a bench or chair. 3 × 10–15 1 1 min
Inverted RowKnees bent to start. Chest to the edge. 3 × 6–12 2 90 s
SupermanHold 2 s at the top. 3 × 8–12 2 45 s
How to run it
Do this session twice a week with at least two days between. Use a sturdy table or a pair of rings for the inverted row, with your knees bent until you can do 10 reps with straight legs.
How to progress
Add reps until you reach 15 on every row set at the target reps in reserve. Then slow the lowering to three seconds, or for the inverted row straighten your legs and walk your feet forward.

Session 3

Two months in, ready for free weights and cables

Open in the session builder
  • Workouts1× a week
  • Working sets13 a week
  • Per workout~30 min
  • EquipmentLat Pulldown, Assisted Machine, Cable Row, Dumbbells +1

You have trained back on machines for six to eight weeks, you know what 2 reps in reserve feels like, and you want a fuller session.

Now you can hold your posture, so the cable row and the supported dumbbell row replace the row machine, and the straight-arm pulldown opens the session to wake up the lats before the bigger pulls. The face pull covers the upper back from a new angle. At 13 working sets across five exercises this is a real back day, and the main pulls move to 1 to 2 reps in reserve because your form now holds up close to failure.

Back Day
ExerciseSets × repsRIRRest
Straight-Arm PulldownPrimer. Arms long, bar to thighs. 2 × 12–15 2 1 min
Assisted Pull-Up1 warm-up set firstLess assistance than last month. 3 × 6–10 1 2 min
Seated Cable RowSit tall. Handle to the belly button. 3 × 8–12 1 90 s
One-Arm Dumbbell RowPer arm. Full stretch at the bottom. 3 × 8–12 1 90 s
Face PullHands to the ears. Light. 2 × 15–20 1 1 min
How to run it
Do it once or twice a week. If you train back twice, alternate it with Back A from the machine plan so the pulldown and row machine stay in your week.
How to progress
Double progression: reach the top of the rep range on every set at the target reps in reserve, then add the smallest weight step and work back up. Lower the assistance on the pull-up by one plate each time you reach 12 reps.

Make it fit you

Questions

What is the best back exercise for beginners?

The lat pulldown. It trains the same motion as a pull-up with a weight you choose, the pads hold you in place, and you can add load in small steps. Pair it with a seated machine row and you have trained the whole back.

How many back exercises should a beginner do?

Two or three per session. One vertical pull, one row, and optionally a rear delt or lower back exercise, for 8 to 10 hard sets in total. More exercises mostly add time and soreness in the first months, not muscle.

Are 4 exercises enough for back day?

Yes, for nearly everyone. Four exercises at 3 sets each is 12 hard sets, which sits in the range most people grow on. Choose a pulldown or pull-up, a row, a rear delt exercise and one lower back exercise, and add sets before you add exercises.

Should beginners use machines or free weights for back?

Start on machines. They remove balance and posture from the lift, so you can learn how a hard set feels without your form being the thing that ends it. Add cable and dumbbell rows after four to eight weeks, once the machine versions feel easy to control.

How heavy should a beginner lift for back?

Heavy enough that you finish each set with about 2 reps left. Start light, do one set of 10, and judge how many more you could have done. Adjust the pin until that answer is about 2, and use that weight for your working sets.

How often should a beginner train back?

Twice a week, with two or more days between sessions. That doubles how often you practice the movements, which is how beginners get stronger fastest, while each session stays short.

Can I train my back at home as a beginner?

Yes. A supported one-arm dumbbell row, an inverted row under a sturdy table or rings, and the superman cover the lats, upper back and lower back. The home plan on this page uses only those three.