
Blog
How to Brace Your Core for Heavy Lifts: A Step-by-Step Guide
Published October 29, 2026 · 16 min read
To brace your core, take a deep breath into your belly and ribs, then tighten your abdominal wall around that air as if someone were about to poke you in the stomach, while keeping your ribs down and your spine in its neutral position. The goal is not to suck your stomach in. It is to build pressure inside your trunk so your spine and pelvis stay stable under load.
That one sentence hides several details that decide whether a brace helps you or just makes you dizzy. This guide covers what bracing is, how to set it up in order, how to practice it lying down before you load it, how to apply it to squats, deadlifts and presses, and when to let it go.
TL;DR
- Bracing means creating intra-abdominal pressure with a deep breath and a 360-degree abdominal contraction, not pulling your belly button in.
- Breathe into your belly and lower ribs first, then tighten your abs around the air and pull your ribs down without rounding your back.
- Practice lying on your back at a light effort, then at a moderate effort while you keep breathing, before you add a barbell.
- Reset the breath and brace on every heavy repetition, and ease off between sets and during light work.
- Brief breath-holding is a tool for near-maximal lifts only. If you have high blood pressure or a heart condition, ask your doctor first.
Table of Contents
- What bracing actually does
- How to brace your core, step by step
- Practice before you load it
- How hard should you brace?
- Bracing for the squat
- Should you brace all the time?
- Common mistakes and quick fixes
- Our perspective: treat the brace as a variable you can log
- Put it into your training
- FAQ
- Sources
What bracing actually does
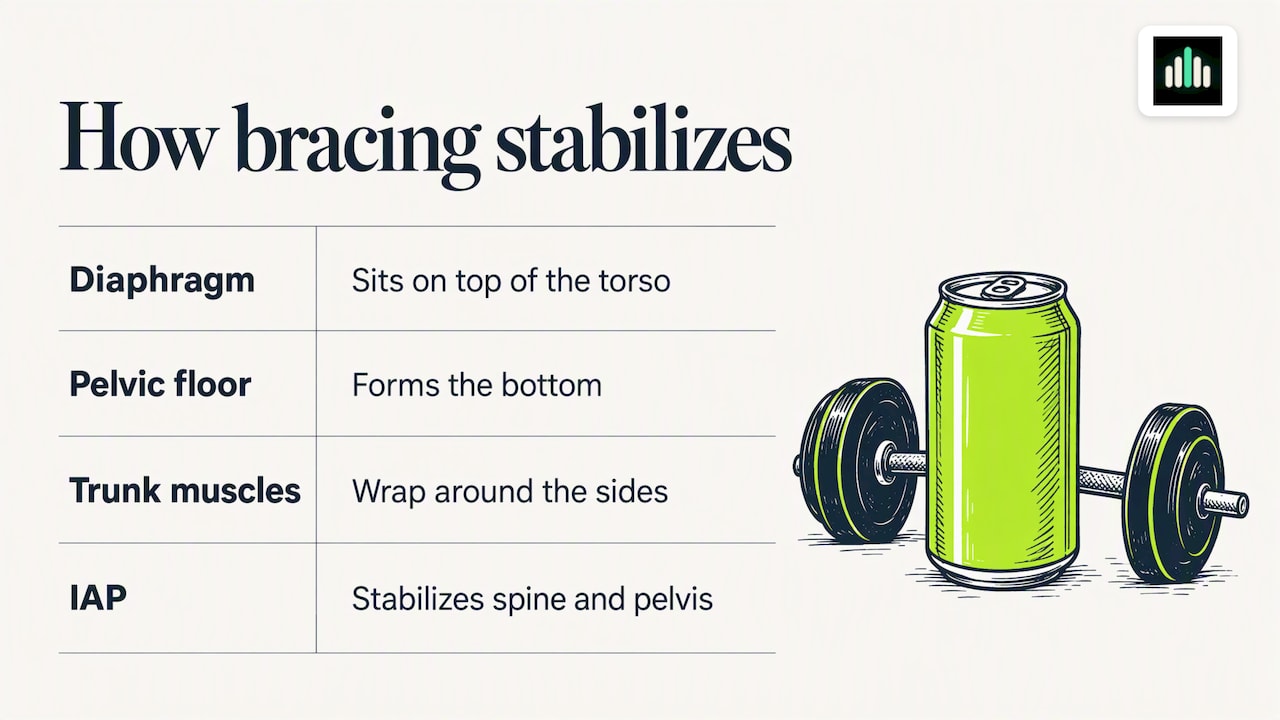
When you lift something heavy, your spine is a stack of bones that needs to stay stacked. Muscles around it do the holding, and one of the most useful tools they have is pressure. According to the National Strength and Conditioning Association, bracing focuses on generating intra-abdominal pressure (IAP) to stabilize the spine and pelvis. Lifters brace consciously before a lift, while the body also regulates that pressure automatically in daily life.
Think of a soda can. An open can crumples easily, but a sealed can with pressure inside holds a surprising load. Your torso works similarly: the diaphragm sits on top, the pelvic floor on the bottom, and the abdominal wall, obliques and back muscles wrap around the sides. Pressurize that cylinder and it becomes stiff.
That is why a brace feels like more than an ab exercise. It is a coordinated effort between breathing muscles and trunk muscles. Weightlifting research summarized by Creighton University notes that the diaphragm and pelvic floor need to be positioned and engaged together for bracing to work, which is one reason breathing mechanics matter as much as how hard you squeeze.
Bracing is not the same as hollowing
A common instruction, "pull your belly button toward your spine," is called abdominal hollowing. The NSCA guidance points to bracing, not hollowing, as the way to create pressure. Sucking in your stomach shrinks the cylinder instead of pressurizing it, so it gives you less stability under a barbell, not more.
If you take one cue from this article, make it this: you are pushing out against your belt line and tightening around it, not pulling in.
How to brace your core, step by step
The order matters. Most failed braces come from tightening first and breathing second, or from breathing into the chest and shrugging the shoulders.
- Set your posture. Stand tall or get into your starting position with a neutral spine and ribs stacked over your pelvis, not flared up toward the ceiling.
- Breathe in low and wide. Take a deep diaphragmatic breath through your nose or mouth. Feel your belly push forward, your sides widen and your lower back expand slightly. The NSCA describes breathing into (pressurizing) the abdomen so it creates an outward-pushing force before the abdominal wall is activated.
- Tighten around the air. Contract your abs, obliques and the muscles beside your spine at the same time. Imagine tightening a weightlifting belt from the inside, in all directions, not just the front.
- Pull your ribs down. The NSCA also cues pulling the ribs downward as you brace. Your lower ribs should move toward your hips, without you flexing your spine to do it.
- Lift. Keep the pressure through the hardest part of the rep.
- Reset. Breathe out or in as needed, and rebuild the brace before the next rep.
A quick self-check
Place your fingers on your sides just above your hip bones, with thumbs toward your back. When you brace correctly, you should feel the area push into your hands in the front, sides and back. If only the front pushes out, you are likely breathing and bracing in one direction only. If your shoulders rise, your breath is too high in the chest.
True bracing should not change your posture. If your back rounds or your ribs flare when you tighten, you have switched to the superficial muscles that move your spine instead of the deep ones that stabilize it. Stop, reset your position and try again with a smaller effort.
Practice before you load it
Bracing is a skill, and skills are easier to learn without a barbell on your back. A simple progression works for beginners and for experienced lifters who realize they have been guessing.
Stage 1: Breath awareness on your back
Lie down with your knees bent and feet flat. Place one hand on your belly and one on your lower ribs. Breathe in slowly and notice where the air goes. Fitness education resources such as IDEA Health & Fitness Association recommend starting with exactly this kind of breath awareness, then bracing while you keep breathing so you learn to hold the contraction through both the inhale and the exhale.
Poor posture and long-held habits, such as sitting slumped for hours, can make it harder to breathe into the lower ribs. If that is you, expect this stage to feel awkward for a few sessions. That is normal practice, not a sign you are doing it wrong.
Stage 2: Light brace, steady breathing
Still on your back, tighten your trunk at a low effort. A useful mental scale is a 10-point effort scale, where roughly 2 to 4 is a gentle contraction you could hold while talking. Breathe in and out without losing it. Expand your ribs sideways and in the back as you inhale instead of only pushing the belly forward. A guide on coordinating rib expansion with core engagement describes the same breathing pattern for endurance athletes.
Stage 3: Build the intensity
Once a light brace feels automatic, raise the effort in steps toward 6 or 8 out of 10 while still breathing. In practice, many coaches suggest holding this for around 30 seconds for sustained control, a target that is common coaching advice rather than a research finding. If you cannot breathe at all, you went too hard, too soon.
Stage 4: Add positions
Move the same brace to quadruped, half-kneeling, standing and finally a hip hinge with a dowel along your spine. Core activation drills such as the ones in our guide to core activation exercises before lifting and our six-minute abs warm up are good places to rehearse it before your first working set.
How hard should you brace?
The right amount of bracing depends on the load. The same 10-point effort scale works as a rule of thumb:
| Situation | Suggested brace effort | Breathing |
|---|---|---|
| Walking, light carries, warm-up sets | About 2 to 4 out of 10 | Normal, continuous |
| Moderate sets, repetitions well short of failure | About 4 to 6 out of 10 | Breathe between reps; brace at the turnaround |
| Heavy sets, hard repetitions | About 6 to 8 out of 10 | Brace and reset each rep |
| Near-maximal single | 8 or higher | Brief breath hold, if appropriate for you |
The numbers are a coaching scale, not laboratory measurements, so treat them as a way to calibrate yourself. The principle behind them is supported by professional guidance. The NSCA says a high-level brace suits maximal or near-maximal lifts, while for submaximal or repetitive lifting you should keep breathing and perhaps brace only around the switch from lowering to lifting. The margin for error also shrinks as load rises, so the heavier the set, the less you can afford a sloppy brace.
Bracing for the squat
The squat is where most lifters first meet this skill, so here is how the steps look under a bar.
- Unrack and set your stance. Walk the bar out with your ribs stacked over your hips.
- Breathe in before you descend. Take your deep diaphragmatic breath at the top, expanding the torso in every direction, as the NSCA describes.
- Brace and pull the ribs down. Tighten all the way around and keep your ribs from flaring up, without flexing your spine.
- Descend under control. Push your belly gently into the brace as you lower. Think "sit between your hips," not "fold forward."
- Drive up and ease off gradually. The NSCA guidance says the brace should be released or reduced slowly during the upward phase, not dropped suddenly at the bottom.
- Reset at the top. Rebuild breath and brace between every repetition on heavy sets. Pausing for one calm breath at the top is not wasted time. It is what keeps rep six as stable as rep one.
The same pattern applies to the deadlift, with one change: you set the brace before you pull the slack out of the bar, since the first inch of the pull is where a weak brace shows up as a rounded back. For overhead presses and bench presses, the brace keeps your ribs from flaring and gives your arms a stable platform to push from.
Where the belt fits
A lifting belt does not replace a brace. It gives your abdominal wall something to push against, which can make it easier to feel the 360-degree pressure. Learn the brace without a belt first, then add one for your heaviest sets if you want it.
Should you brace all the time?
No. This is the most common overcorrection once lifters learn the skill. According to the NSCA, continuous, high-load abdominal contraction can interfere with normal breathing and movement, limit dynamic stabilization and reduce how well force transfers through the body.
The American Council on Exercise's continuing education material on when to brace and when to breathe presents a similar argument from movement specialist Joanne Elphinston: constant heavy bracing can limit how many ways your joints can move together and dull your body's natural ability to adjust pressure to the task.
Practically, that means:
- Do not walk around the gym or the office with your abs clenched.
- Use a lighter brace for warm-ups, accessory work and sets that stop well before failure.
- Save the strongest brace for the hardest repetitions of your heaviest sets.
- Between sets, breathe normally and relax your trunk.
Common mistakes and quick fixes
| What you notice | Likely cause | Fix |
|---|---|---|
| Chest and shoulders rise when you inhale | Breathing high, not low | Practice lying down, hand on lower ribs, and breathe into your hand |
| Your stomach pulls in when you tighten | Hollowing instead of bracing | Push out against your waistband, then tighten around it |
| Ribs flare at the top of presses and squats | Overarching to "stand tall" | Pull ribs down; reduce the lumbar arch |
| Lower back rounds at the bottom of the squat | Brace lost or too weak | Reset at the top; lighten the load; keep the brace through the turnaround |
| Dizzy or lightheaded after sets | Holding breath too long or too hard | Exhale at the top of each rep; rest longer |
| Brace disappears by rep 5 | Fatigue and no reset | Reset the breath every rep on heavy sets |
The role of the Valsalva maneuver
The Valsalva maneuver means holding your breath against a closed throat while you strain. The NSCA notes that it can generate maximal intra-abdominal pressure for maximal lifts, but should be used only briefly because it significantly raises blood pressure. That caution deserves to be taken seriously. If you have hypertension, cardiovascular disease, a hernia or are pregnant, talk to your physician before you use breath-holding on heavy sets, and ask what exhale pattern is safe for you. For everyone else, a good default is to hold only through the hardest portion of a heavy rep and breathe out near the top.
Our perspective: treat the brace as a variable you can log
We build a training app, so we look at bracing the way we look at everything else: as something that shows up in your data. When a lifter reports that a set felt harder than the weight suggests, the cause is often technique rather than strength, and a lost brace is one of the most common technique causes. A set that ends with a rounded back and a lifter who thinks they had two reps left is not really a set with two reps in reserve.
That is why we think the brace and your reps in reserve (RIR) estimates are linked. Reps in reserve is the number of clean repetitions you could still do when you stop a set. If your brace falls apart before your muscles fail, your honest RIR is lower than your gut says, because the next rep would not be a clean one. We would rather you stop a set when your technique starts to slip and record that number than grind through a worse rep and record a false one.
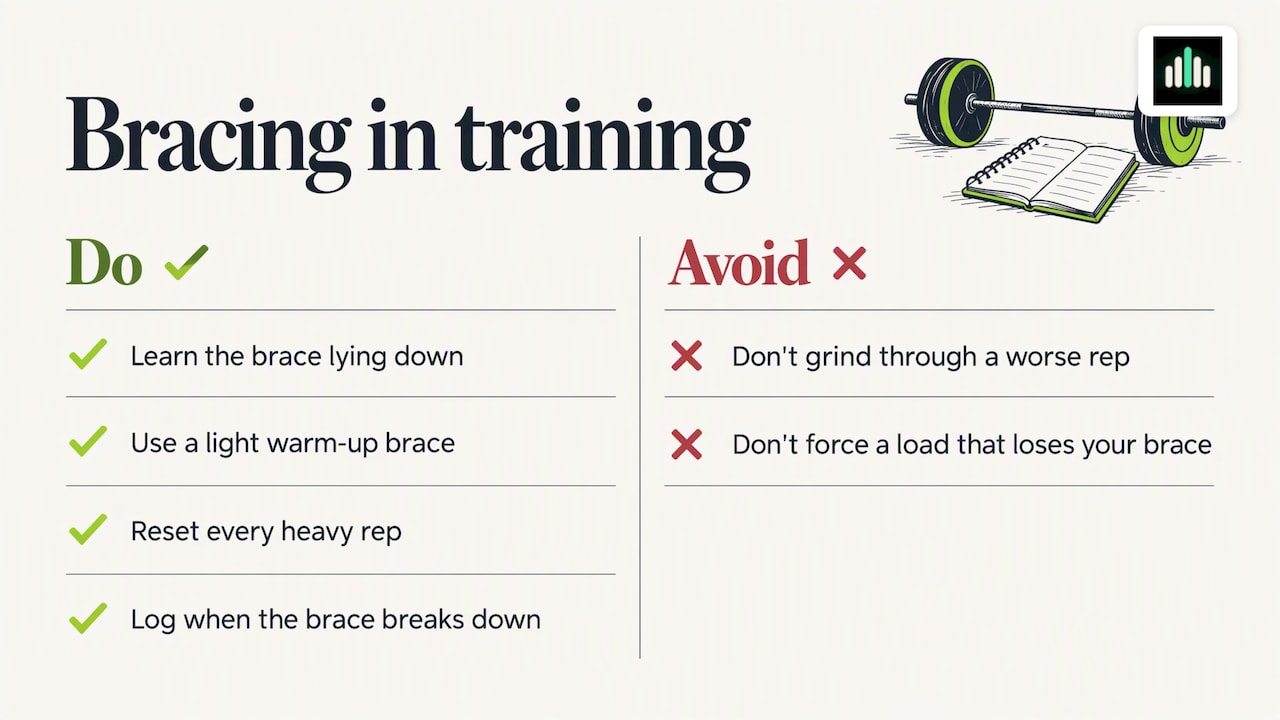
Our advice is practical and based on coaching practice, not on a single study. Learn the brace lying down. Use a light brace for warm-ups and a strong one for hard sets. Reset every heavy rep. Write a short note in your log when the brace broke down, because patterns in those notes tell you more than any single bad day. And if a particular lift keeps losing its brace at the same load, treat that load as your current ceiling and build up from it instead of forcing it.
— Guilherme
Put it into your training
A brace you can only do in a quiet room is not much use, so build it into your sessions in layers.
- Warm-up. Spend two minutes on breath-and-brace drills, then rehearse the brace with the empty bar. Pair it with a short routine such as our dynamic warm up so the pattern is rehearsed before the load goes up.
- Ramp-up sets. Use each warm-up set as practice. Light sets get a light brace, and the brace gets stronger as the weight rises.
- Working sets. Brace, lift, reset. Note any set where you lost position.
- Accessory work. Train the muscles that produce and support the brace. Our guides to barbell core exercises and core exercises with weights offer progressive options, and the bodyweight core exercises work if you train without equipment.
If you are new to lifting overall, build the brace on simple patterns first. Our full body exercises for beginners give you a handful of movements to practice it on without a long learning curve.
Tracking what you learn
Notes on form are only useful if you can find them again. That is where RIRLift comes in. The free plan lets you log every set on iPhone or Apple Watch with weight, reps and RIR, so you can see the sets where your technique, not your muscles, ended the set. Pro, at $9.99 per month or $79.99 per year, adds the AI Coach, which analyzes your logged sessions and recommends your next load from your own data. You can see the plans on RIRLift before you decide.
If you want to size your sets and loads before you head to the gym, the Session Builder is a quick way to do it.
FAQ
Should you brace your core all the time?
No. Constant, high-effort bracing can interfere with normal breathing and movement, according to the NSCA. Use a strong brace for maximal and near-maximal lifts, a light one for warm-ups and easy sets, and relax between sets and in everyday life.
How do you brace your core while breathing?
Use a moderate, steady contraction and expand your ribs in all directions as you inhale instead of only pushing your belly out. Practice lying on your back first, holding the brace through both inhale and exhale. For heavy sets, a brief breath hold is an option, but see the blood pressure caution above.
How do you brace your core for squats?
Stand under the bar with ribs over hips, take a deep breath into your belly and sides, tighten all the way around, and pull your ribs down without rounding your back. Ease the brace off gradually as you stand, then reset your breath at the top before the next rep.
What does it feel like when you brace correctly?
You should feel pressure and firmness around your whole midsection, front, sides and back, as if wearing a tight belt, while your posture stays the same. If only your stomach tightens or your back rounds when you try, drop the effort and practice the breath first.
Does bracing mean sucking in your stomach?
No. Pulling the stomach in, known as hollowing, shrinks the trunk instead of pressurizing it. The NSCA guidance favors generating intra-abdominal pressure. Push out gently against your waistband and tighten around that pressure.
Sources
- NSCA: Stability and Weightlifting, Mechanics of Stabilization
- Creighton University: Weightlifting and the Pelvic Floor
- IDEA Health & Fitness Association: Use Breath to Improve Core Stability
- American Council on Exercise: Spinal Stability in the Real World, When to Brace and When to Breathe
- Core stability and breathing coordination guide